Shop Now
- Copic
-
Painting
- Paint
-
Inks
- Atelier Acrylic Inks
- Sakura Oil Printing Colours
-
Permaset Screenprinting Ink
-
Permaset Aqua Standard
- Permaset Aqua Standard 100ml
- Permaset Aqua Metallic 100ml
- Permaset Aqua Standard 300ml
- Permaset Aqua Glow 300ml
- Permaset Aqua Metallic 300ml
- Permaset Aqua Standard 1Lt
- Permaset Aqua Process Colours 1Lt
- Permaset Aqua Glow 1Lt
- Permaset Aqua Metallic 1Lt
- Permaset Aqua Standard 4Lt
- Permaset Aqua Process Colours 4Lt
- Permaset Aqua Glow 4Lt
- Permaset Aqua Metallic 4Lt
- Permaprint Premium
- Permaset Aqua Supercover
- Screenprinting Sets
- Print Paste
- Screenprinting Accessories
-
Permaset Aqua Standard
- Amsterdam Acrylic Inks
- Mediums
- Canvas and Surfaces
- Brushes and Tools
-
Drawing
- Markers
- Pens
- Pencils
- Pastels
- Inks
- Drawing Surfaces
- Accessories
- Surfaces
- MABEF Easels
- Craft & Cutting
- Adhesives & Tape
- Display & Storage
- Framing Supplies
- Monumental Masons
- Talens
- Tutorials
- X-Press It
- Acrylic Paint
- Acrylic Pouring
- Art
- Art Creations
- Australian Artist
- Blending
- Chroma
- Cobra Water Mixable Oil Colours
- Colour Mixing
- Copic
- Deco Tape
- Double Sided Tape
- Drawing
- Ecoline
- Fineliners
- Gel Pens
- Gelly Roll
- Hand Lettering
- Koi Watercolours
- Lightfastness
- Mixed Media
- Oil Painting
- Oil Pastels
- Paint Markers
- Painting
- Pastels
- Pencils
- Permanent Markers
- Pigma Micron
- Pouring Art
- Rembrandt
- Sakura
- Soft Pastels
- Solvent Free Oil Painting
- Step By Step Tutorials
- Storage
- Talens
- Tips & Techniques
- Van Gogh
- Watercolour Brush Pens
- Watercolours
- X-Press It Craft
- Metal Leaf
- Glue
- Adhesives
- Alcohol Markers
- Copic Sketch
- Copic Classic
- Copic Ciao
- Copic Ink
- Airbrushing
- Refillable
- Alcohol Ink Art Techniques
Acrylic Pouring
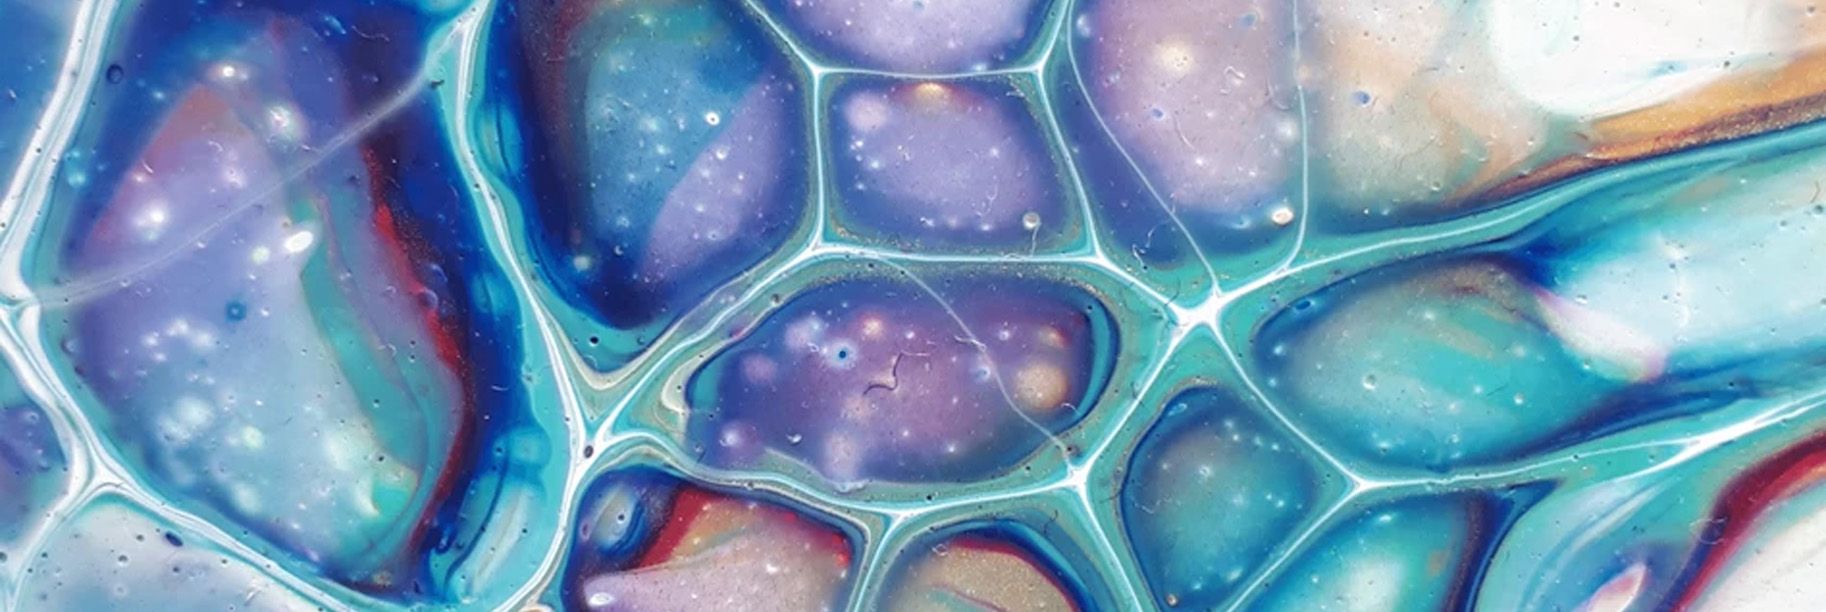
Acrylic pouring is all the rage right now! You may have seen different videos popping up of these fascinating fluid paintings being made. It might seem as though you can just pour different colours of paint onto a canvas and call it a day, but it takes some practice and of course, the right materials to manipulate the paint in a way that results in a beautiful piece of art.
This step-by-step plan shows you how you can achieve this look at home using Amsterdam's vibrant acrylic paint and pouring medium. The pouring medium makes your paint more fluid, self-levelling and increases the flexibility of the paint film to prevent cracking. Perfect for acrylic pouring!
What you need:
- Canvas
- Amsterdam Acrylic Inks
- Amsterdam Pouring Medium
- Liquid silicone
- Water
- Cups
- Stirring sticks (e.g., popsicle sticks)
- (Kitchen) torch
- Gloves
- Plastic to cover your workspace
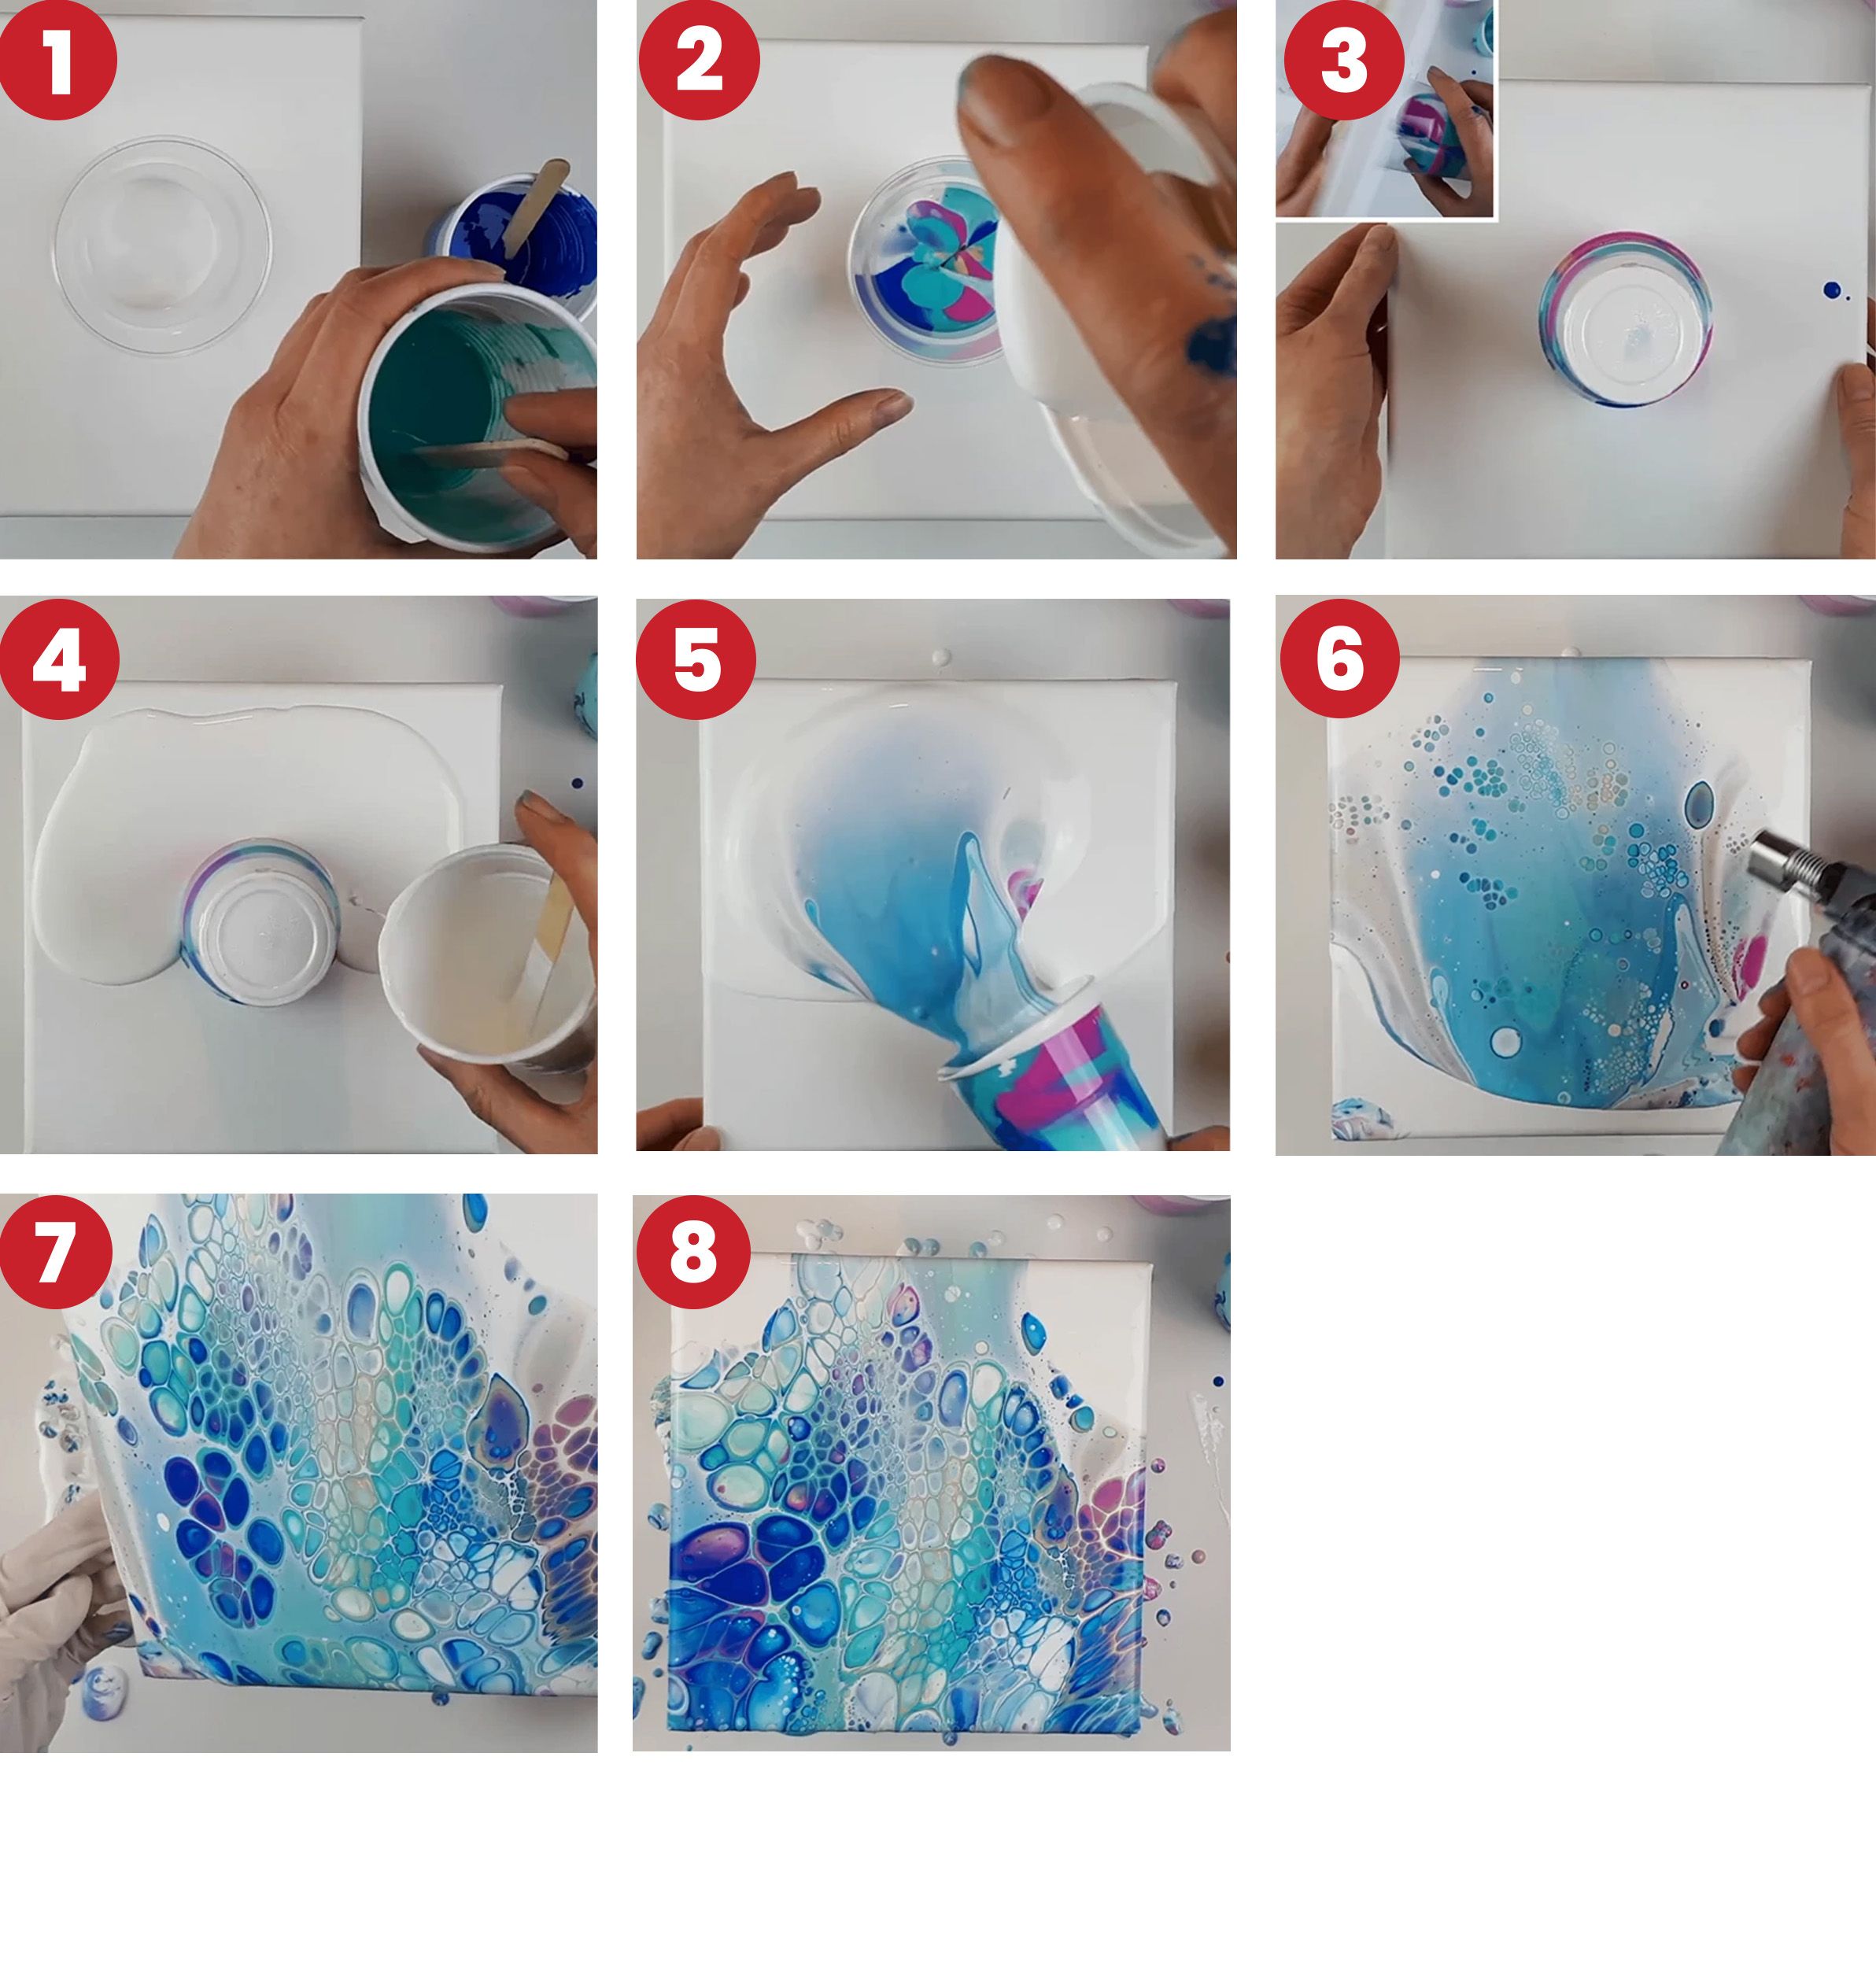
Step 1:
Start by preparing your workspace by covering it with plastic and mixing your pouring paint. Pour the pouring medium into different cups and add the colours you want to use. Stir each cup well.
Add a little bit of water to make your paint thinner and add in a few drops of silicone as well. Adding silicone will help separate your colour layers and create those cells in the paint we are looking for. You can use any other type of lubricant that does not mix in with water-based paints, such as oils, just make sure they do not affect the colour or go rancid after some time. Silicone is your safest bet.
Stir again until everything is well mixed together.
Step 2:
Grab an empty cup and add your different colours in any order you like until your cup is half full.
Step 3:
Place your canvas face down on the cup and turn them both over while holding them together tightly. The cup should now be standing upside down on the canvas without spilling too much.
Step 4:
If you want to, you can add a base colour to your canvas around the cup. We used white (prepared like the rest of the colours), but you can use any colour you like, or none at all. Spread the paint across the canvas using the palette knife.
Step 5:
Now for the most exciting part: releasing the paint! Lift the cup and let the paint flow across the canvas. Remember to add paint to the corners and sides as well, as the paint might not go there naturally. Do not be afraid to let the paint drip off the sides, that is why we put plastic down in the beginning!
Tip: place your canvas on top of some empty cups to make sure the paint can freely flow off the sides without smudging.
Step 6:
Use the torch to create the little cells in the paint and to pop air bubbles that formed during the pouring.
Step 7:
Put your gloves on and tilt the canvas slowly in different directions to move the paint around. Do this however long you like to create different patterns. Once you are happy with the result, use the torch once again to pop any new air bubbles that may have formed.
Step 8:
And that completes your painting! Since we used quite a lot of paint, it needs at least two days to fully dry, preferably in a laid-down position so the paint does not move while drying. (Remember the cup tip from step 5 to keep the sides of your canvas looking pretty!)